In this lesson, you will create a web page in the form
of a Faces JSP file. In the next lesson, you will add data to this
page using the data parts and functions you created in the previous
lesson. When the page is finished, it will show a list of every record
in the database.
About this task
This tutorial uses JavaServer Faces (JSF) technology. JSF
offers a framework for developing user interfaces for web applications.
The web pages in JSF are JavaServer pages (JSPs). JSPs contain JavaServer
controls that you can use to embed Java™ code
into the page, providing dynamic content.
Create the JSP file from a template
About this task
Procedure
In the Enterprise Explorer view, right-click the WebContent folder
in the EGLWeb project, then click New > Web page.
It is important
to select the place where you want to put new files; otherwise the
new files might not appear in the place you expect them to.
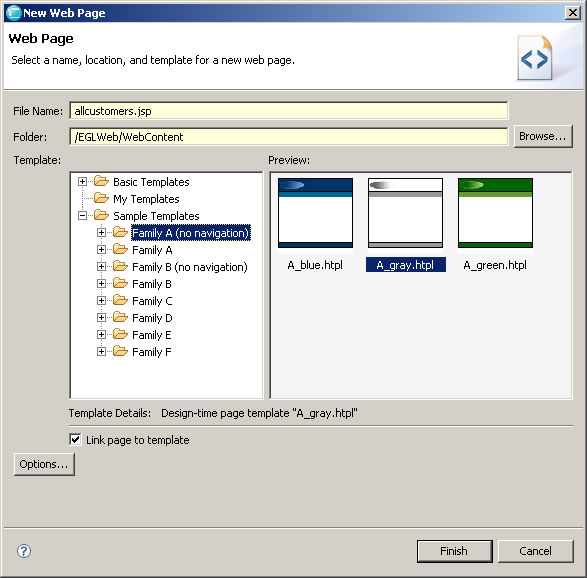
The New Web Page window opens.
In the File Name field, type this
file name, including the extension:
allcustomers.jsp
Make sure that the Folder field
lists the /EGLWeb/WebContent folder.
In the Template list, expand Sample
Templates and click Family A (no navigation).
The simple web page templates in this category are shown
in the Preview box.
In the Preview box, click the A_gray.htpl template.
Make sure the Link page to template check
box is selected.
The New Web Page window looks
like this:
Click Finish.
The
new Faces JSP file opens in the editor.
Click Design to display the design
view in the full editor window.
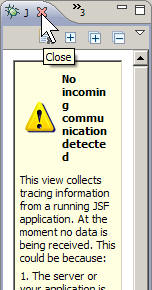
You might see the JSF Trace
view to the right of the editor window. Eclipse creates this view
by default, sharing space with the Palette view and others. You do
not need the JSF Trace view for this tutorial. You can close it by
clicking the X in the tab.
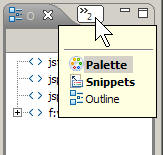
Typically,
you want to display the Palette in this view. You might need to click
the small double arrow and select the Palette view from a menu:
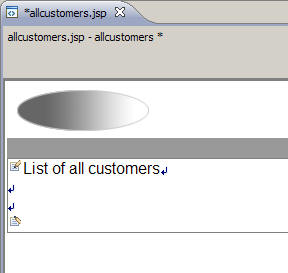
In the new allcustomers.jsp file,
remove the default text that says "Place your page content here" and
replace it with the following text:
List of all customers
Press Enter three times to insert
blank lines.
These lines leave room for you to add content
to this page in the next lesson.
The page looks
like this:
Save the file.
Preview the web page on the server
About this task
No data from the database is on the web page yet, but you
can run the JSP file on the web application server and see how the
page looks so far. This is an important step; it ensures you have
the application server working properly before the page becomes complicated.
Procedure
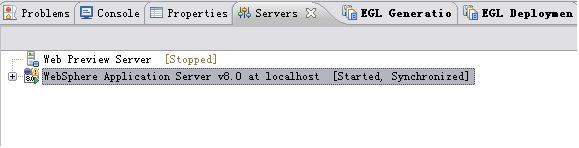
Make sure your application server is started. The server
name should be visible in the Servers view
(located by default under the Editor view). The server should show
the words Started and Synchronized in
brackets after the name. If not, right-click the server name and click Start.
The start process might take a few minutes.
In the Enterprise Explorer view, expand the EGLWeb/WebContent folder
if necessary. Right-click the allcustomers.jsp file
and click Run As > Run
on Server.
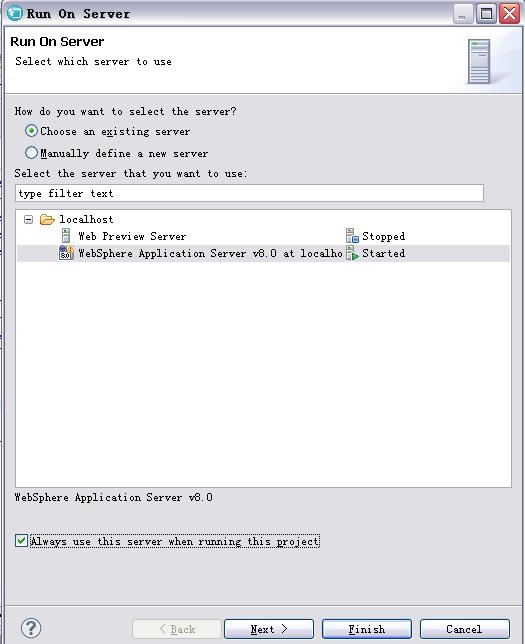
The Define a
new server window opens.
In the Define a New Server window,
select your server.
Select the Always use this server when running
this project check box.
Click Finish.
Results
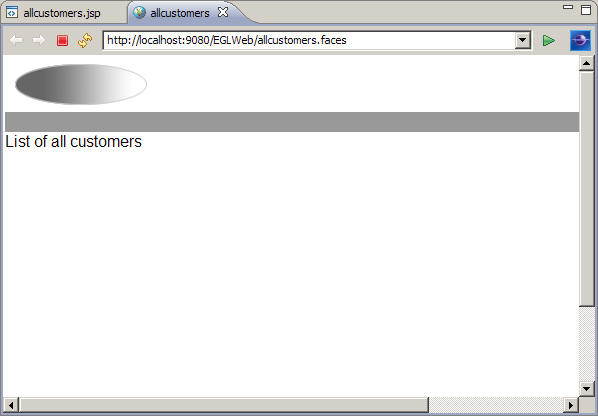
The web page opens in a web browser inside the workbench.
The page looks like this:
If you
see an HTTP 404 error message (page not found), restart the server
and refresh the browser window.
If you prefer to use an external
web browser, you can copy the URL from the web browser inside the
workbench and paste that URL into the external browser's address field.
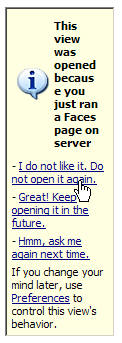
Eclipse
may again display the JSF Trace view. You can permanently remove the
view by scrolling down until you find a link that says Do
not open it again and clicking that link.
This page does
not have any data on it yet. In the next lesson, you will add data
to this page using EGL.
 Typically, you want to display the Palette in this view. You might need to click the small double arrow and select the Palette view from a menu: