Configuring Keycloak
Before configuring, ensure that Keycloak is up and running. By default, you can access the Admin Console at: http://localhost:8180.
Default credentials:
username: admin
password: admin
Manual Configuration
Below are the steps to configure Keycloak.
- Create Realm
- Open the Keycloak Admin Console.
- Click on the Keycloak dropdown and select Keycloak master.
- Click Create realm.

- Create a realm window that will appear.
- Enter Realm name (myrealm).
- Click Create.
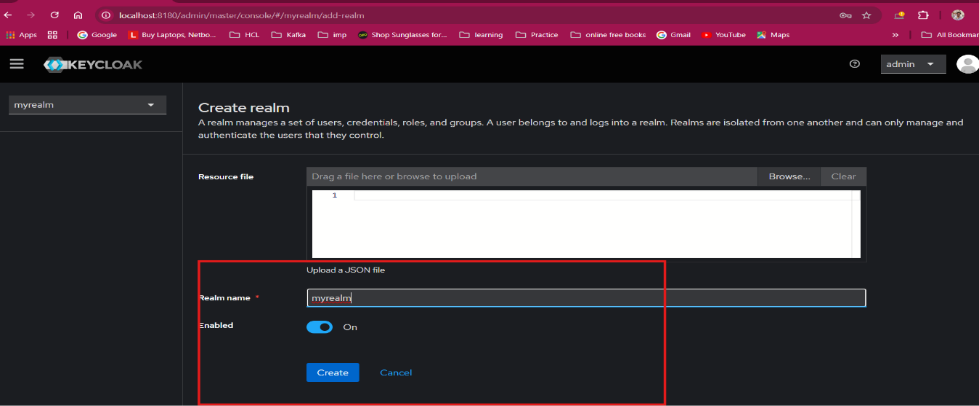
- Realm has been created successfully.
- Create a Client
- Open the Keycloak Admin Console (http://localhost:8180/).
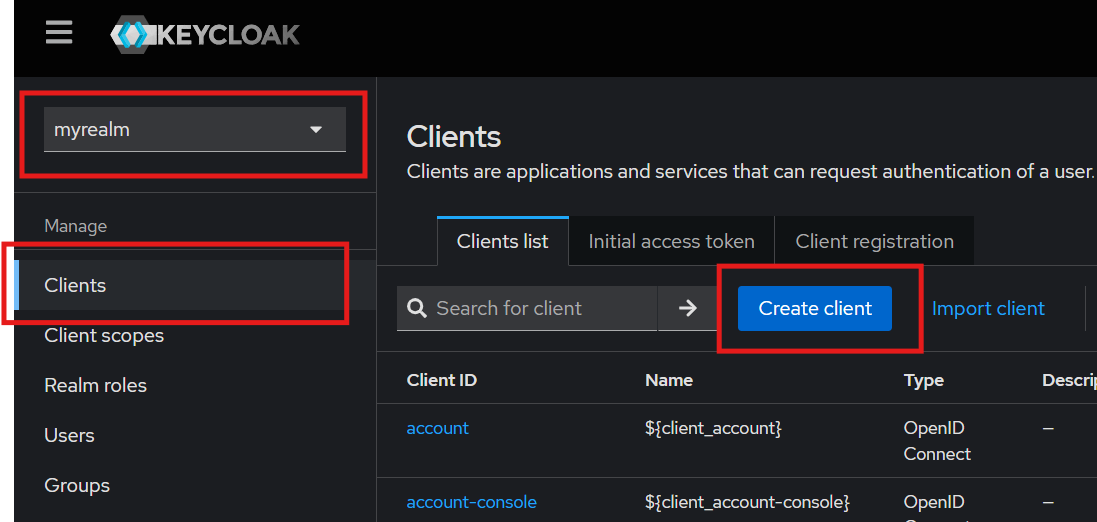
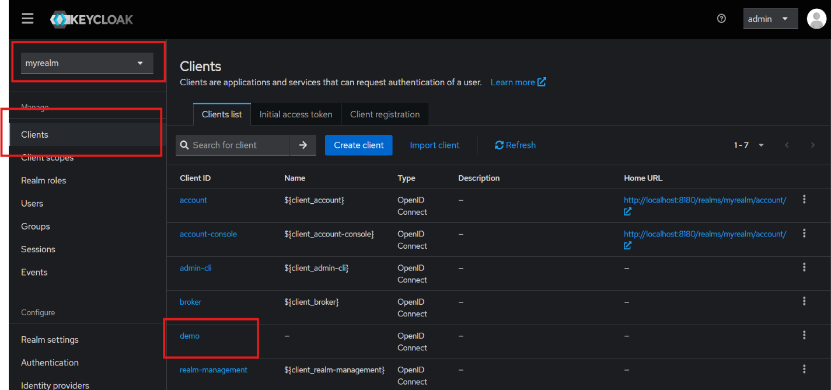
- Click on the Keycloak dropdown menu and select myrealm.
- Click Clients.
- A Client's window will appear.
- Click Create client.
- Enter the Client type and Client ID names in the general
settings.
Example:
Client type: OpenID
Connect Client ID: demo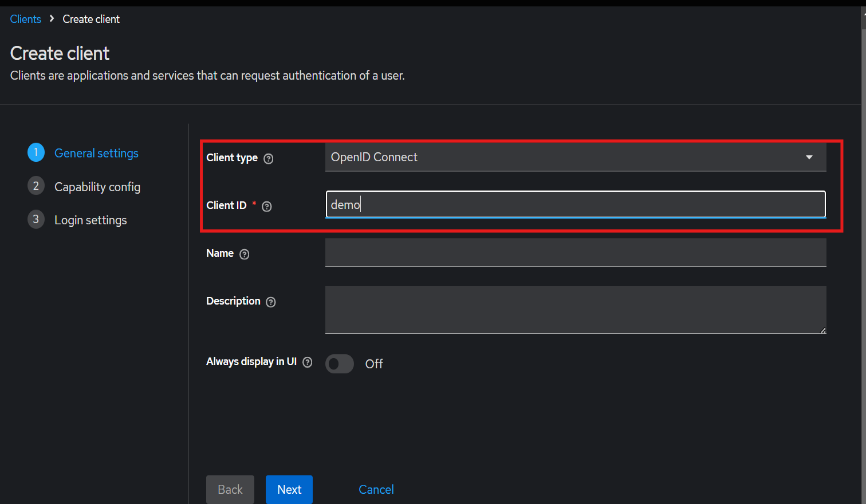
- Click Next.
- Select the Direct access grants checkbox in the authentication flow. Note:
- Don’t enable Client authentication.
- You can select/enable the other options as per your requirement.
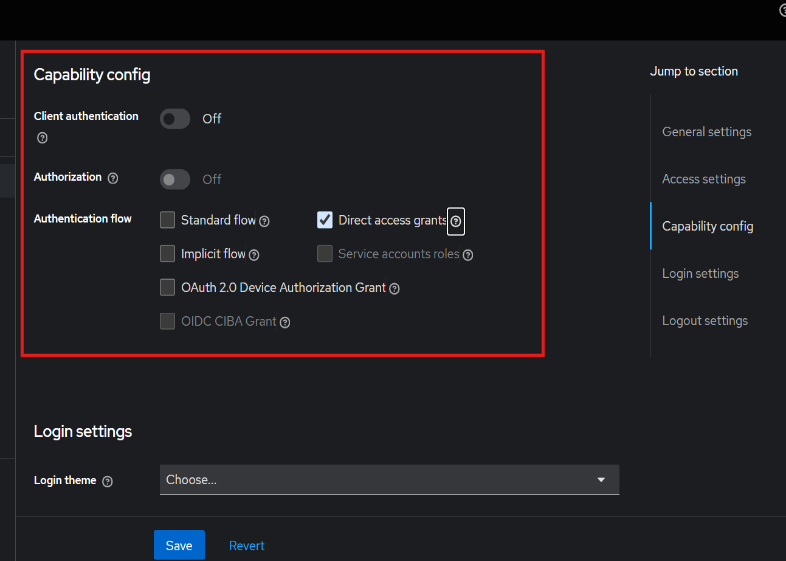
- Click Next and Save.
- Client has been created successfully.
- Create a Role
- Click Clients in the left-hand menu.
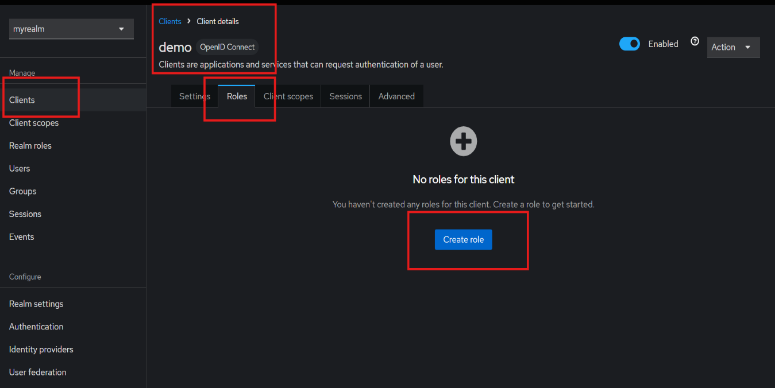
- Select the created client (e.g., demo).
- Navigate to the Roles tab.
- Click on Create role.
- Enter the Role name (USER) and Description of the role.
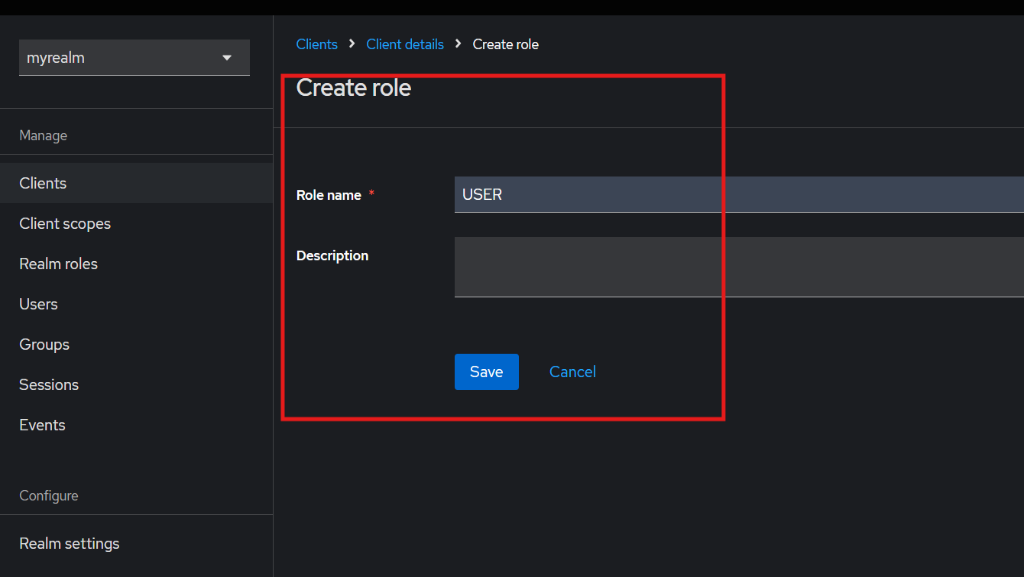
- Click Save.
- Role has been created successfully.
- Create a User
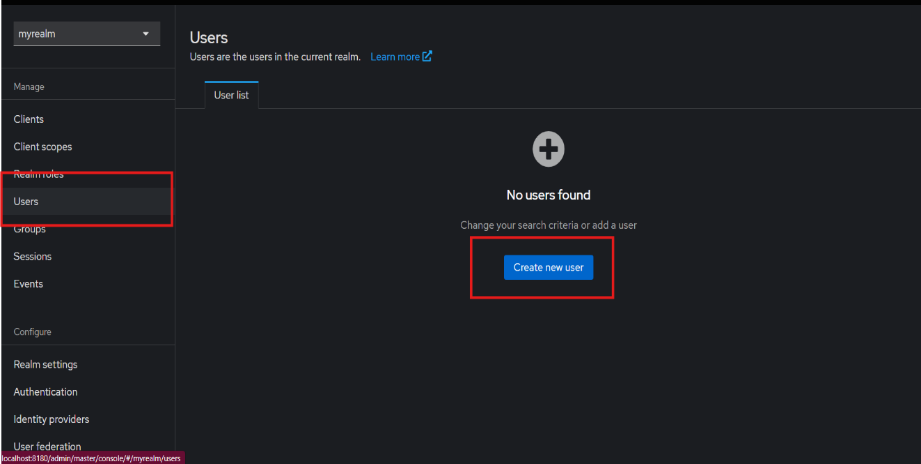
- Click Users in the left-hand menu.
- Click Create new user.
- Enter the following details:
- Username
- First name
- Last name
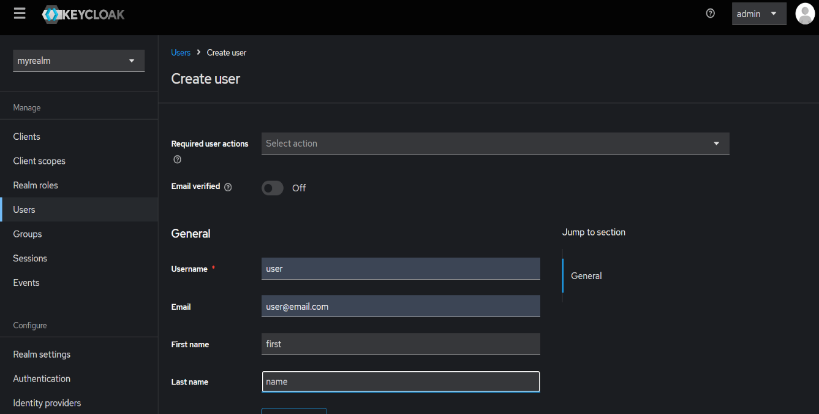
- Click Create.
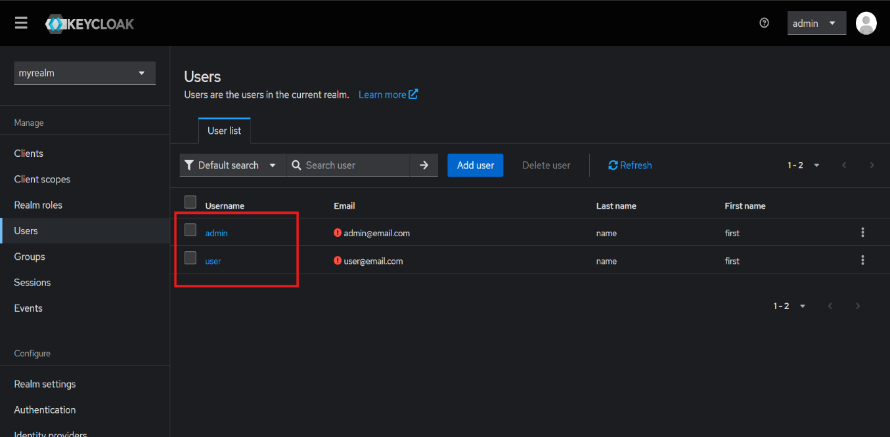
- User has been created successfully.
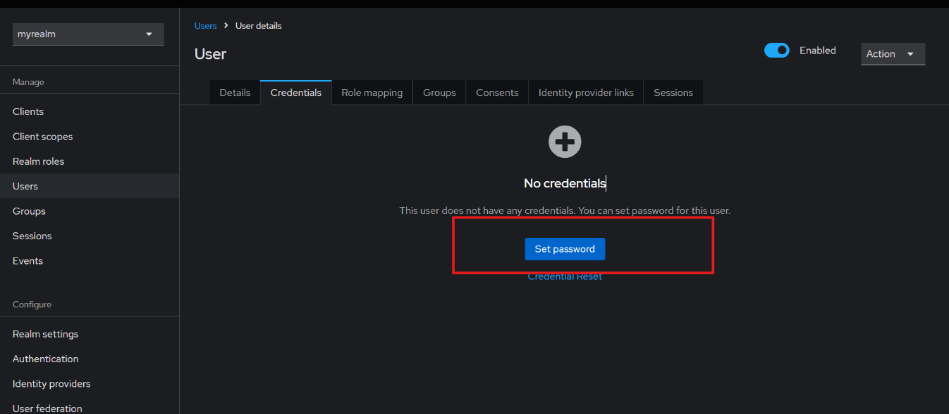
- Set User Credentials.
- Click Users in the left-hand menu.
- Select the created user.
- Go to the Credentials tab.
- Click on Set Password.
- Enter the following details:
- Password
- Password confirmation
- Temporary: disable the toggle button if you don't want to reset the
password on the first login.
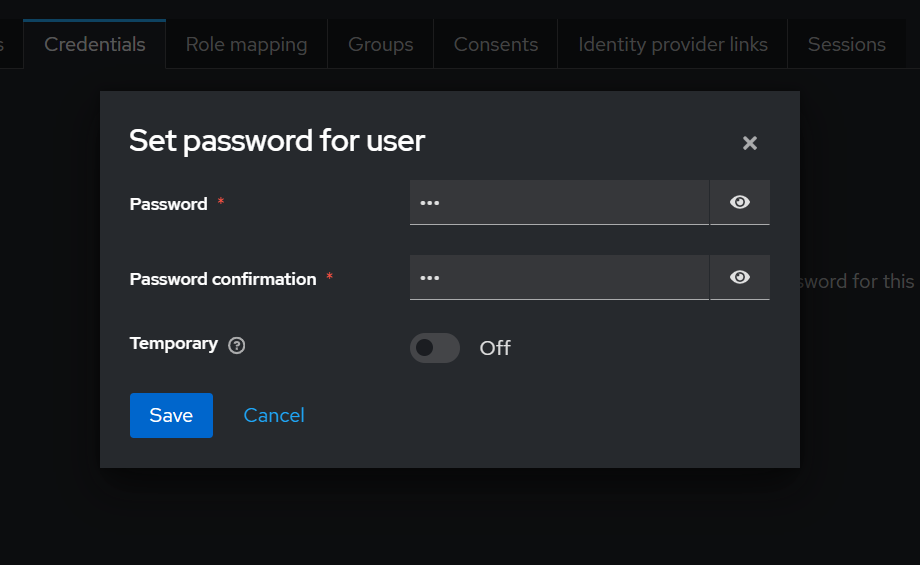
- Click Save.
- User credentials have been set successfully.
- Assign role to User (Optional – for RBAC)
- Click Users in the left-hand menu.
- Click on the created user.
- Go to the Role mapping tab.
- Click on Assign role.

- Assign roles to the user window that will appear.
- Search for the required role.
- Select the required role checkbox.
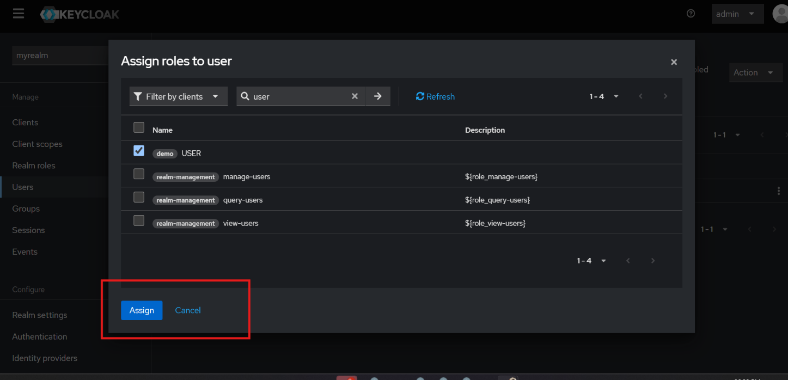
- Click on the Assign.
- A role has been successfully assigned to the user.
- Verify Configuration Endpoints
- Select the realm (myrealm) you created.
- Click on Realm settings under Configure in the left-hand menu.
- A settings window will appear.
- Click OpenID Endpoint Configuration link in the Endpoints.
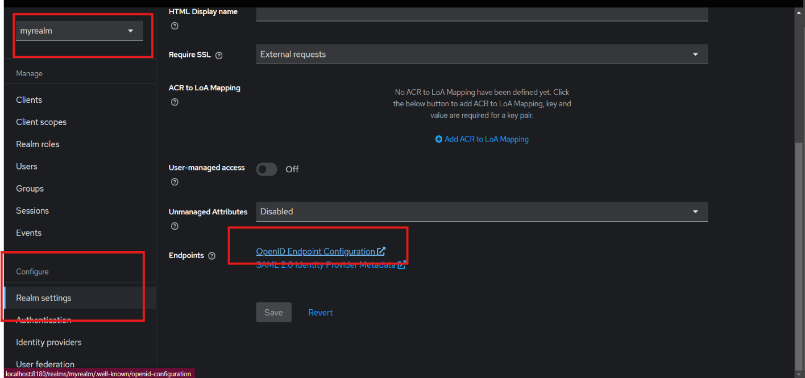
- Now, the user can see the issuer URL as highlighted in the image.
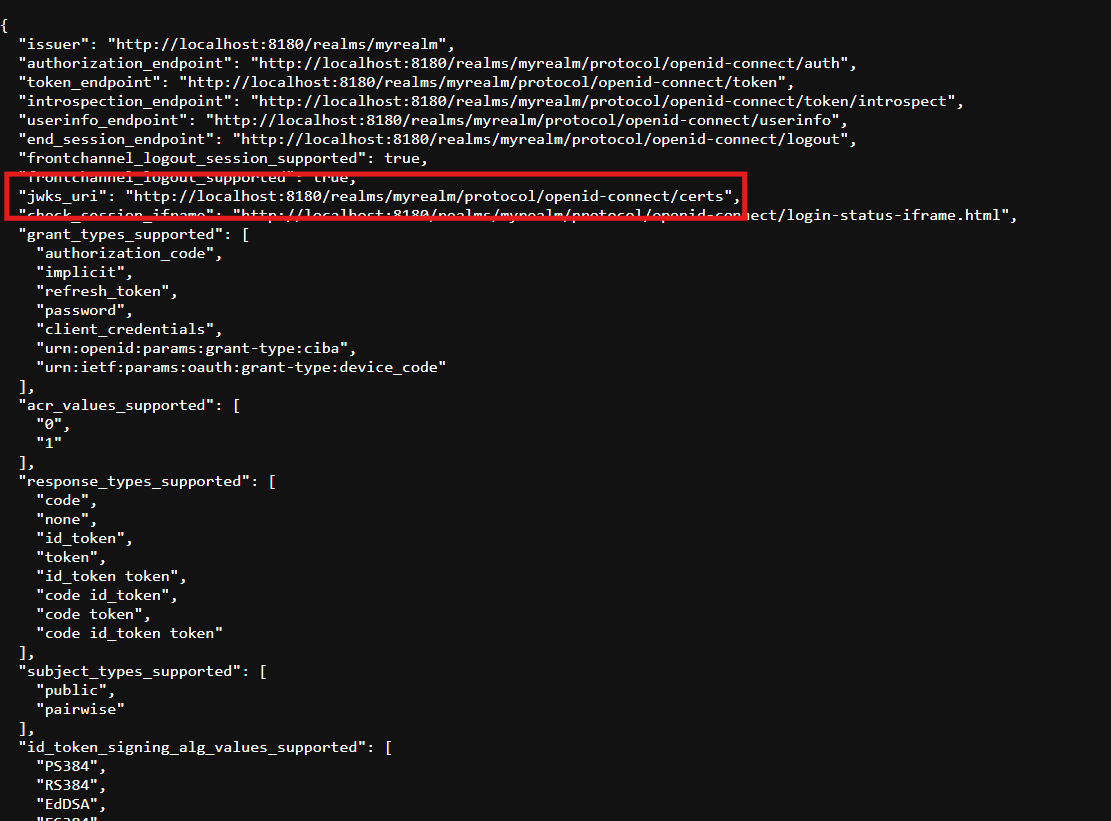
Note:
The user needs to keep the issuer URL and client ID safe for future references, like
while enabling the SSO.
Now, the configuration of the Keycloak setup has been successfully completed.
Import Realm Configuration
Instead of manual setup, you can import the pre-configured realm file provided below by following the steps below.
Steps to Import the Realm file:
- Open the Keycloak Admin Console.
- Click on the Keycloak dropdown and select Keycloak master
- Click on Create Realm
- Select Browse…
- Select the attached file.
- Click on Create.
- Now, the Realm has been imported successfully.