Installing the Deployment Wizard in GUI Mode
On Windows platforms, the Deployment Wizard is installed automatically when Host On-Demand is installed.
To install Deployment Wizard separately, perform the following steps:
- Right click on the HOD_DW_Windows_x64.exe.
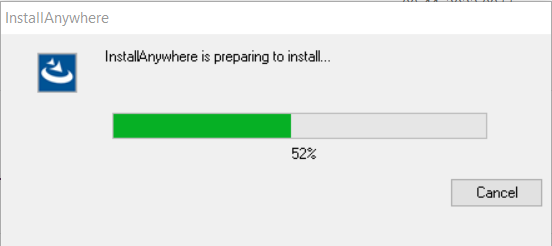
- Click Run as Administrator, the following InstallAnywhere is preparing to install
screen displays.
- By Default, English language is displayed. The user can select the language from the
drop down list.
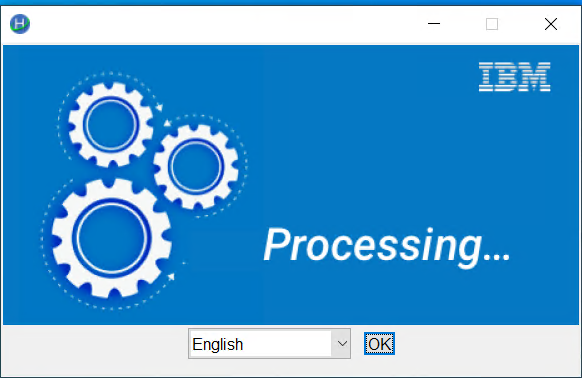
- Click OK. The Introduction screen displays to configure.
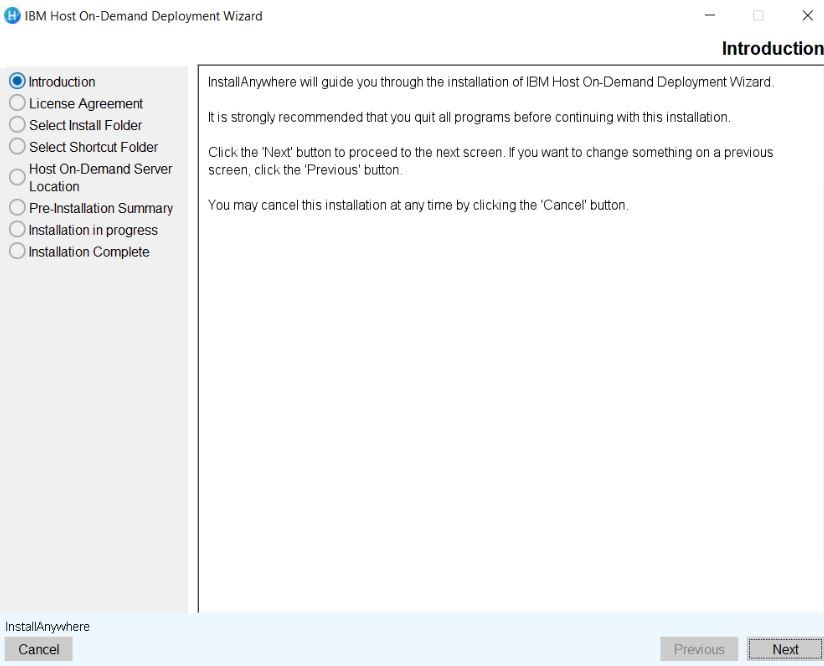
- Click Next.
- The License Agreement screen displays. Click I accept the items of the License
Agreement.
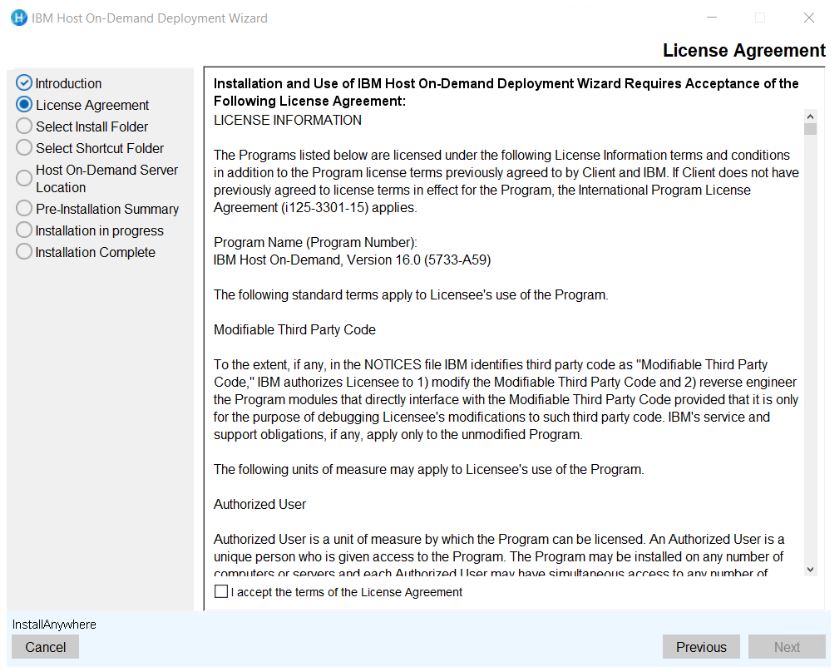
- Click Next.
- The Choose Install Folder to install the product screen displays. (Here, the user
can choose the customized folder).
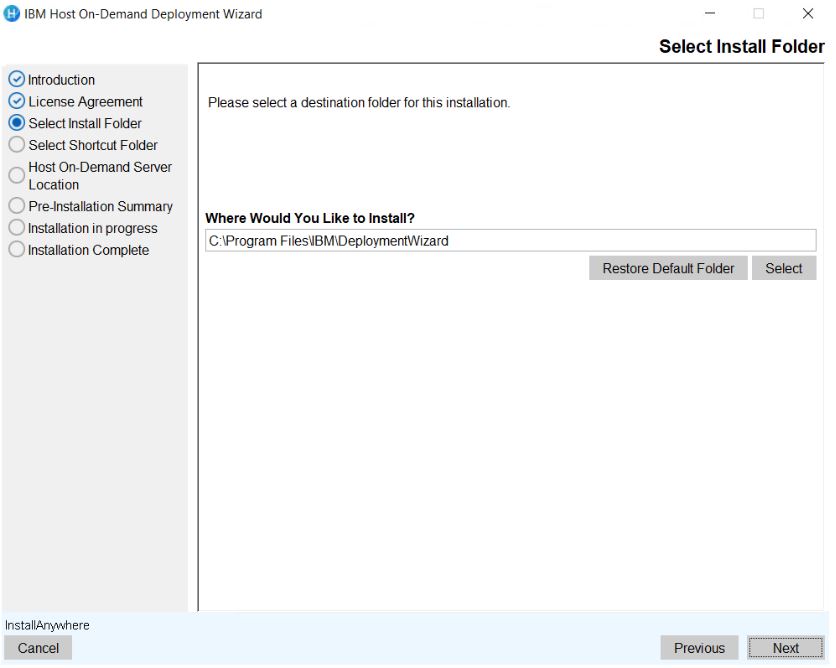 Note:
Note:- The user can restore the default folder.
- If the install folder is already existing then the error message displays; "The
installation folder C\program Files\IBM\Deployment Wizard exists and contains
files."
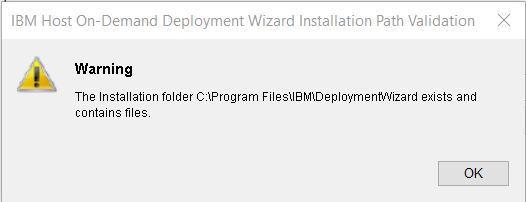
- Click OK.
- The Select Shortcut Folder screen appears. Select the required option to save the
shortcut icon.
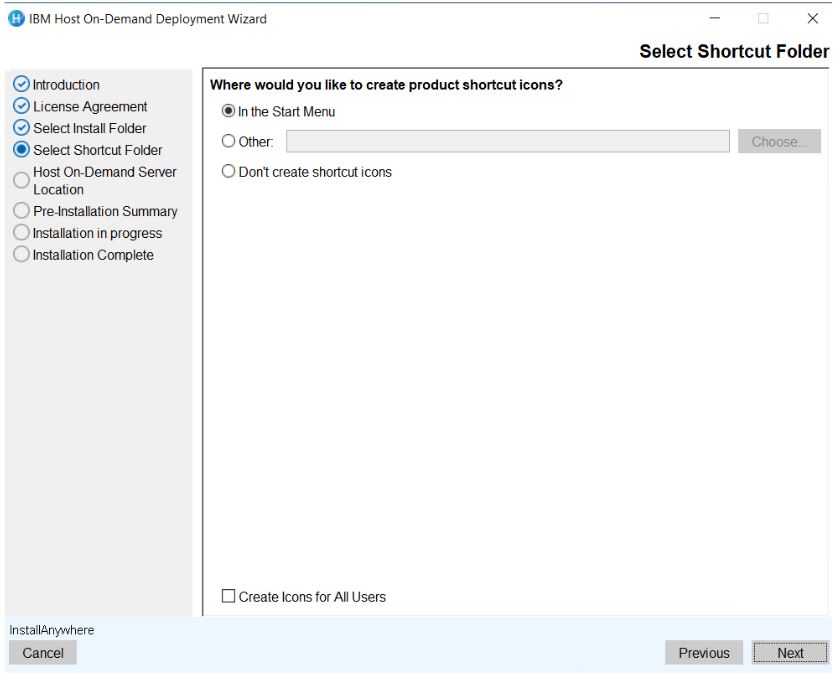
- Click Next.
- The Host On-Demand Server Location configuration screen displays.
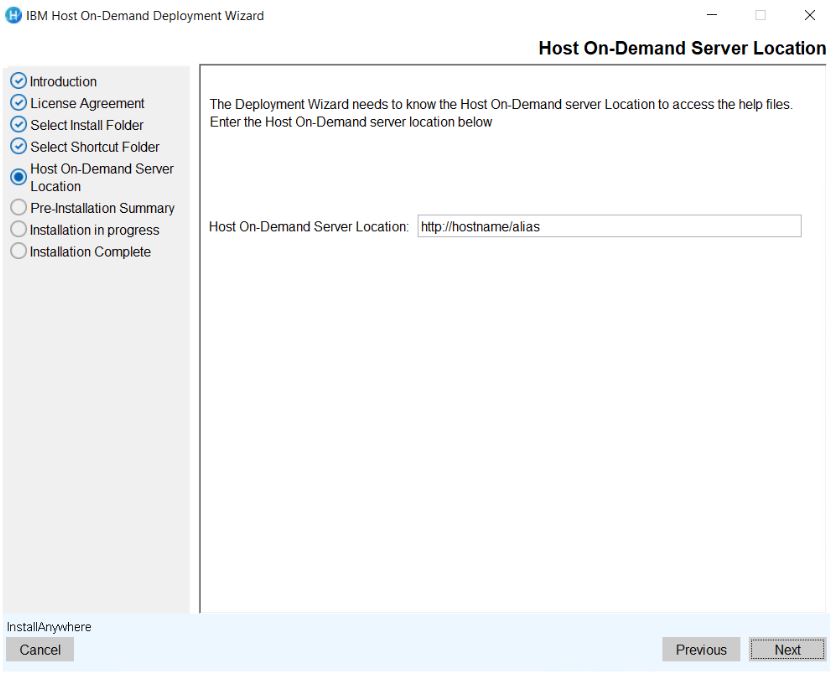
- Click Next.
- The Pre-Installation Summary screen displays to review the summary details, for
example, product name, install folder, host on-demand server location, and disk space
information.
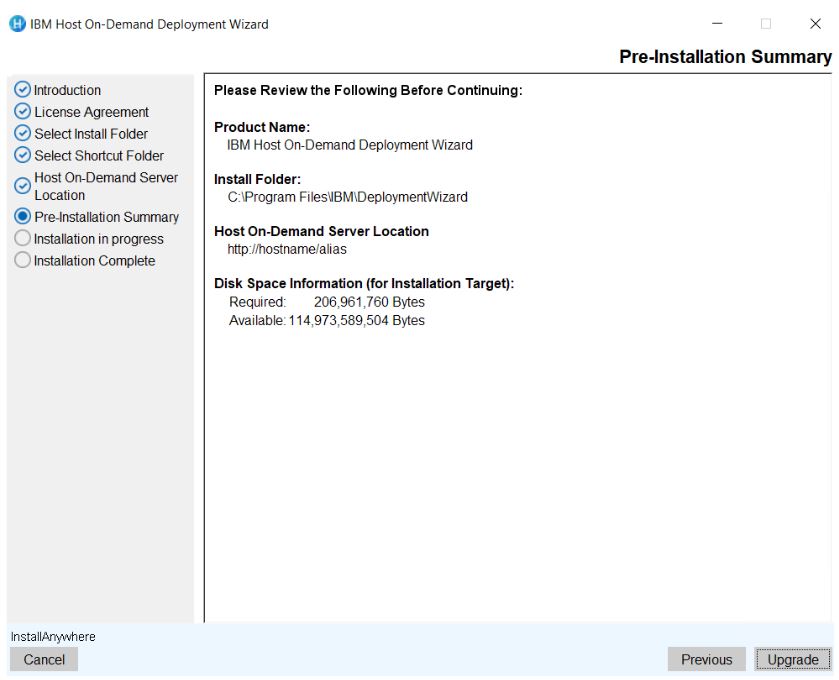
- Click Install. The installation process gets started .
- Once the extraction is completed. The completed Installation screen displays.
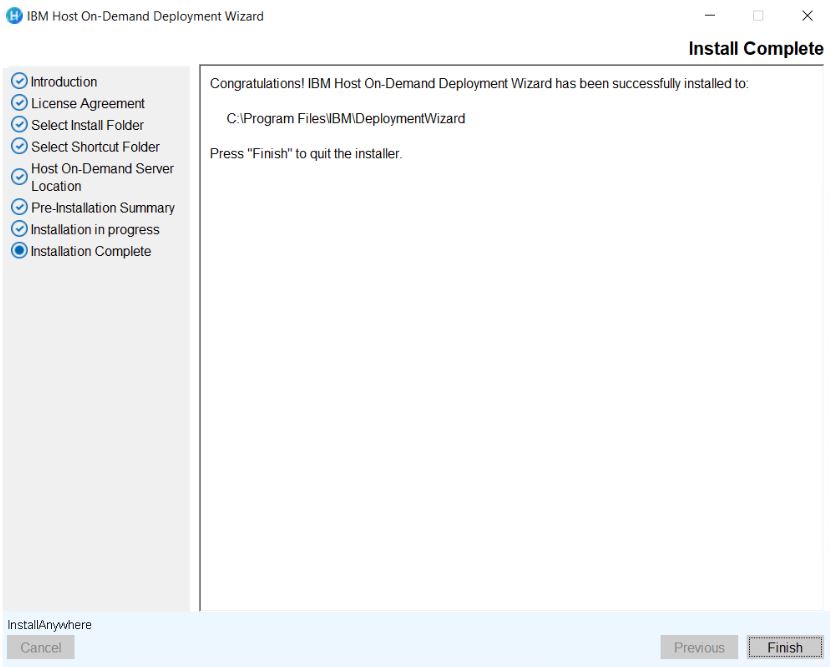
- Click Done. It creates the shortcut for easy access.