Synchronizing Rational® Integration Tester with the IBM® Integration Bus integration node
You can synchronize Rational® Integration Tester with IBM® Integration Bus so that the logical integration node asset is populated with service components and other artifacts in the Rational® Integration Tester project. Also, you can select the tests and stubs that are automatically created for the operations.
Before you begin
- Installed IBM® Integration Bus on a computer, if you already do not have a running IBM® Integration Bus set up.
- Created an integration node in IBM® Integration Bus that you want to connect from Rational® Integration Tester.
- Verified that the IBM® Integration Bus integration node that you want to use is running.
-
Configured the credentials for users who can access the integration node from Rational® Integration Tester.
- Configured IBM® Integration Bus to use SSL and set up the required identity stores and key stores in Rational® Integration Tester, if you want to use the Secure Socket Layer (SSL) for communications. See Identity stores and SSL.
-
Opened a project in Rational® Integration Tester and the Logical View is displayed.
Procedure
-
Open the Create a new
Synchronization Source wizard in one of the following ways:
- Click on the menu bar in the Logical
View or Synchronization
View.
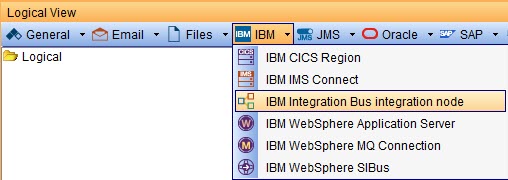
- Click the Create Synchronization
Source icon
 and select
IBM Integration
Bus integration node from the Type list in the
Create a new
Synchronization Source wizard.
and select
IBM Integration
Bus integration node from the Type list in the
Create a new
Synchronization Source wizard.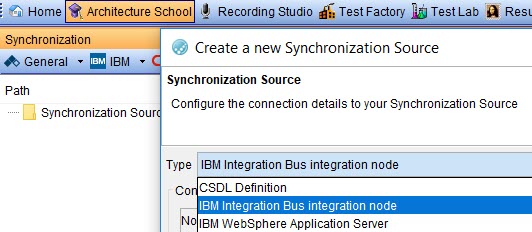
The Create a new Synchronization Source dialog is displayed with the IBM Integration Bus integration node option in the Type field.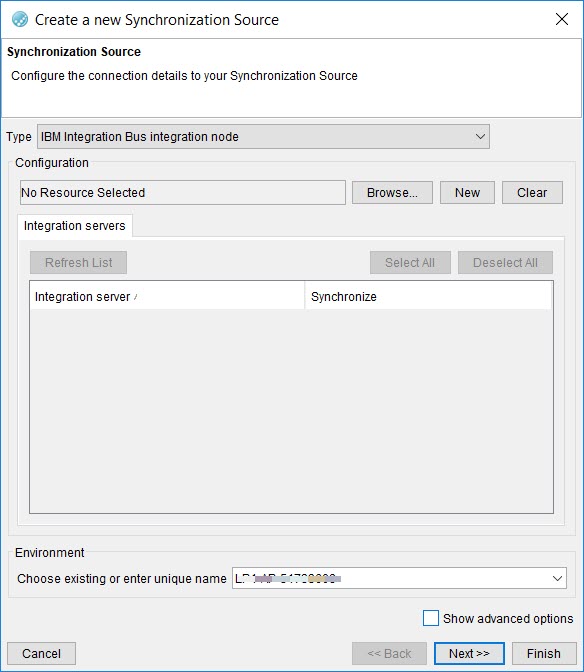
- Click on the menu bar in the Logical
View or Synchronization
View.
-
Perform the following steps in the
Create a new Synchronization Source dialog:
-
Select IBM Integration Bus Integration Node from
the list.
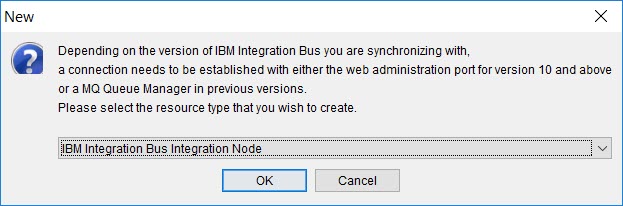
-
Click OK.
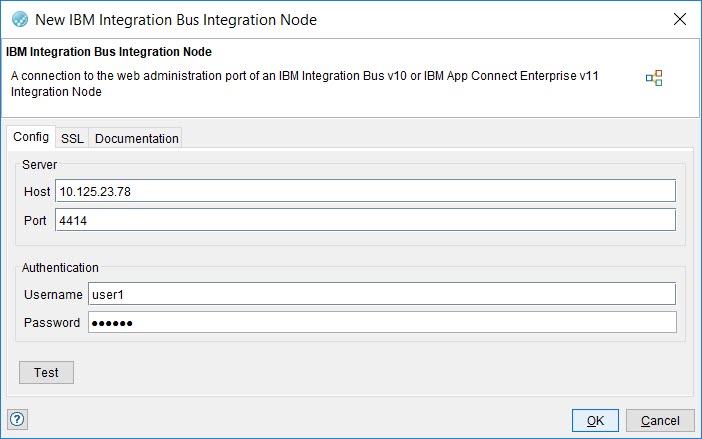
The New IBM Integration Bus Integration Node dialog is displayed.
-
Select IBM Integration Bus Integration Node from
the list.
-
Complete the following steps in the New IBM
Integration Bus Integration Node dialog:
The integration servers that are deployed on the integration node of IBM® Integration Bus are displayed in the list of integration servers.
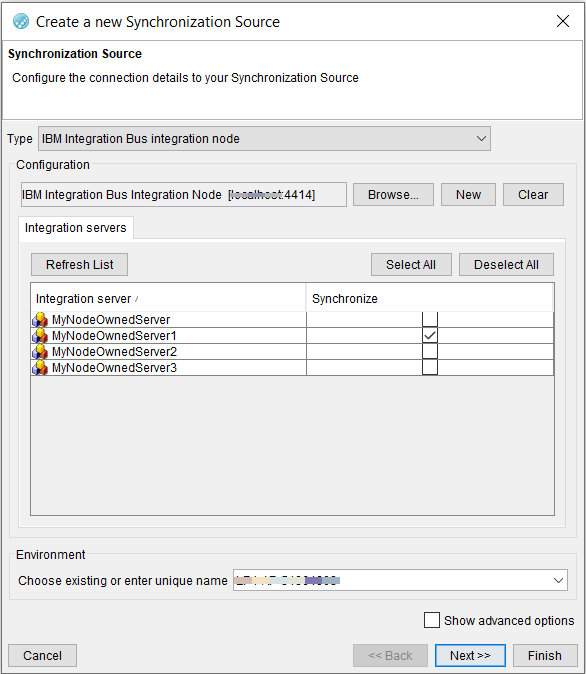
-
Select the integration servers that you want from the list.
You can use multiple integration servers as synchronization sources.
Note: You can select all the integration servers by clicking Select All. If all items are selected in the list, you can clear the selection by clicking Deselect All, and then select the items that you want. To get a fresh list of the connected integration servers at any time, you can click Refresh. -
Change the default environment in your project if you want to use a different
environment in the Environment panel.
Choose from any of the following options:
- If you want to continue with the creation of the logical components automatically for the selected integration servers, continue with the next step.
- If you want to manually create the logical components, select
Show advanced options, and then click
Next.
You can follow the on-screen instructions to create logical components.
-
Click Next.
The Generate assets for Operations window is displayed with the logical component and operations created for the service endpoints deployed on the node.
-
Select the tests and stubs that you want or select all by clicking
Create Tests and Create
Stubs.

-
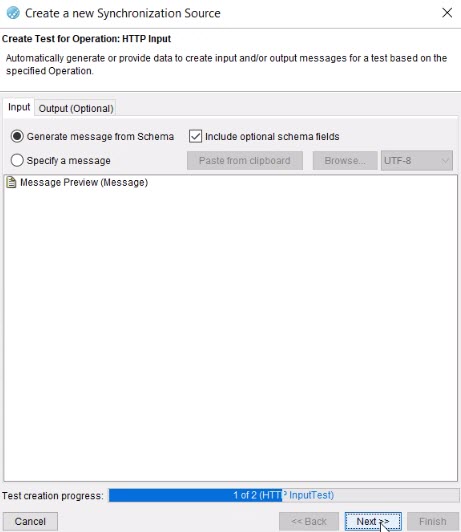
Click Next.
The Create Test for Operation window is displayed.Note: Depending on the tests to be created for the operations, you might want to click Next in each window to complete the creation of tests.
 The Summary window is displayed with the items synchronized that includes tests and stubs that are created.
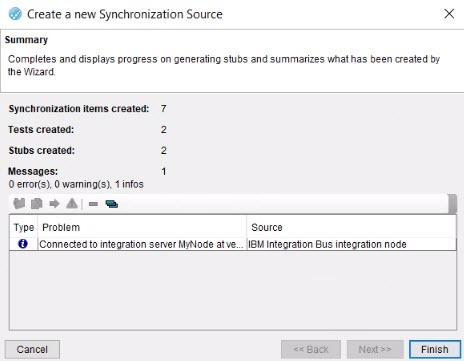
-
Click Finish.
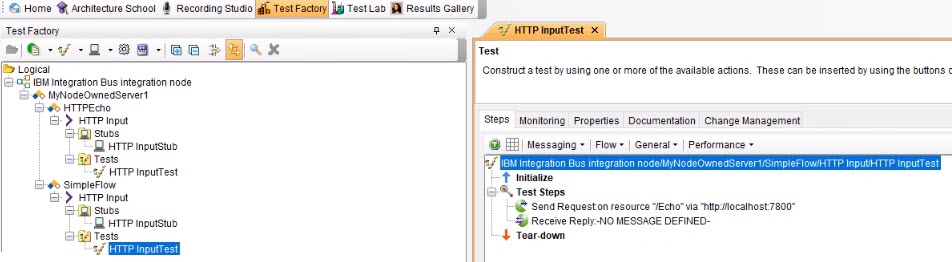
The created tests are opened in the Test Factory view.