Adding a synchronization source
You can add any of the available synchronization sources to automatically create the resources that are required for testing the API that the definition describes.
About this task
Procedure
- Open the Synchronization view of the Architecture School perspective.
- Open the Create a new Synchronization
Source wizard. Choose the Type of
sync source and provide the information unique to that sync source.
See the following topics for the method of launching the wizard and the initial, unique fields that apply to each type of synchronization source. After completing the steps in the appropriate topic, return here to complete the Create a new Synchronization Source wizard.
- Adding a BusinessWorks project as a synchronization source
- Adding a WSDL document as a synchronization source
- Synchronizing a WebSphere Application Server instance
- Adding a webMethods Integration Server Domain
- Creating logical SAP application servers
- Adding a Swagger definition as a synchronization source
- Adding a RAML definition as a synchronization source
- Adding an OpenAPI 3.0 definition as a synchronization source
- Synchronizing Rational Integration Tester with the IBM Integration Bus integration node
- Setting up a logical SCA Domain
- Adding Design Time libraries
- Adding a WADL document as a synchronization source
- Adding a CSDL definition as a synchronization source
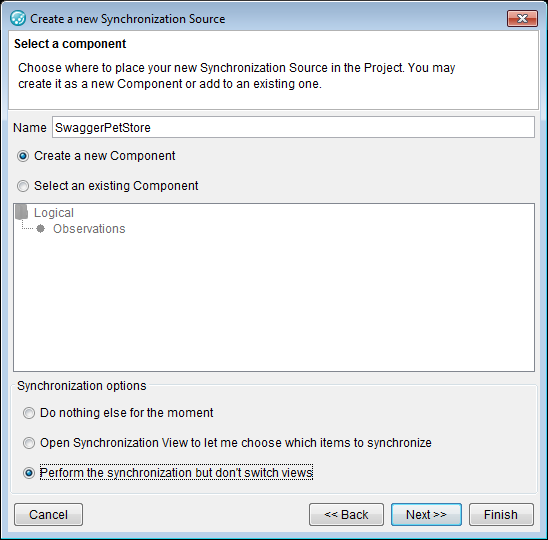
- Complete the remaining fields on the first
page of the Create a new Synchronization Source wizard.
- Complete the advanced option page of the
wizard.The following screen capture shows a Swagger definition, but the UI is the same for other sync sources.
 Note: From this point on, if you want to delete the new synchronization source, you must do so in the Logical view.
 - From the displayed list of operations,
select the tests and virtual services (stubs) to create.For each test you select, go to step 6.
-
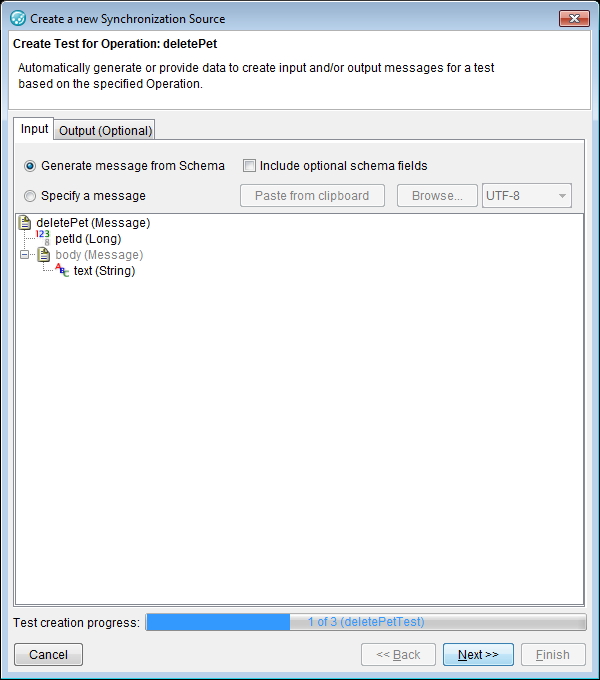
For each test you requested, provide the following information:
 Note: The number of tests to be created is shown in the Test creation progress bar at the bottom of the window.When you have specified sources for all selected tests, a Summary page is displayed with the number of synchronization items, tests and stubs that were created. Starting from Rational® Integration Tester Version 10.0.0, the Summary page also displays all information, warning, and error messages that occurred during synchronization.
 - Click Finish. The Test Factory perspective is displayed.
Results
The specified sync source is now a component in your project.
Note: Using
the Logical View, Physical View, and Schema Library view of the Architecture
School perspective, you must review any operations, physical resources,
and schemas that were added to your project and modify them as required
before you can use them to create any tests, stubs, or other resources.
